WhatsApp API is a paid API, and Meta charges a small per-conversation fee for the messages you send and receive using the API. To pay for the API usage, you need to add your payment method on the Meta Business portal. This guide will walk you through the process of adding a payment method to ensure uninterrupted access to the WhatsApp Business API. By following these instructions, you will be able to set up your billing information quickly and efficiently.
Step-by-Step Guide to Add Payment Method for WhatsApp API Billing #
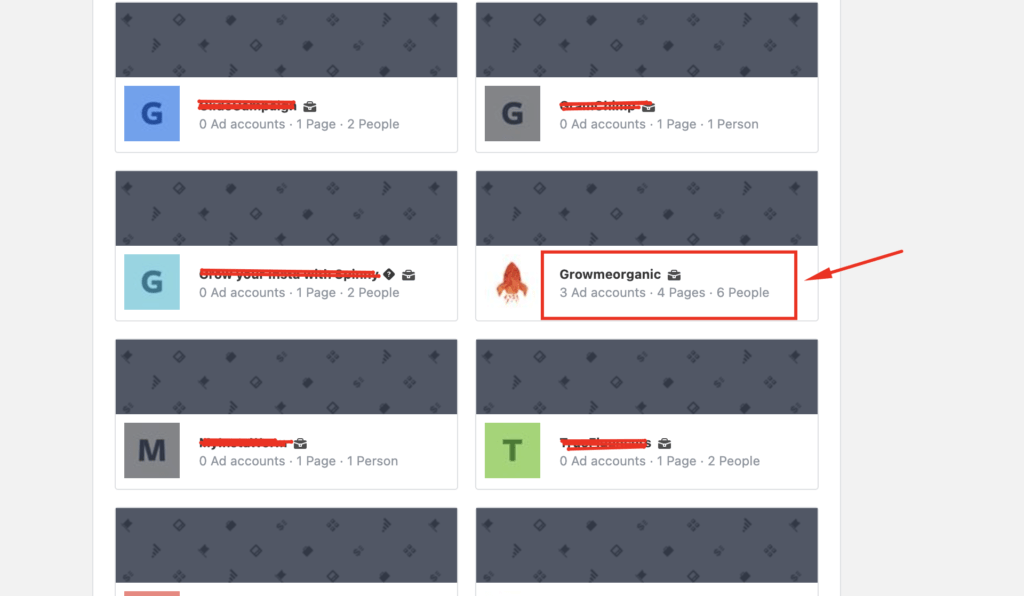
Open Meta Business Settings #
- Access Meta Business Settings: Open the Meta Business Settings page by navigating to the Facebook Business Manager.
- Select Your Business Account: If prompted, select the business account you set up earlier for WhatsApp Cloud APIs. This will direct you to the appropriate account settings.
Navigate to WhatsApp Accounts #
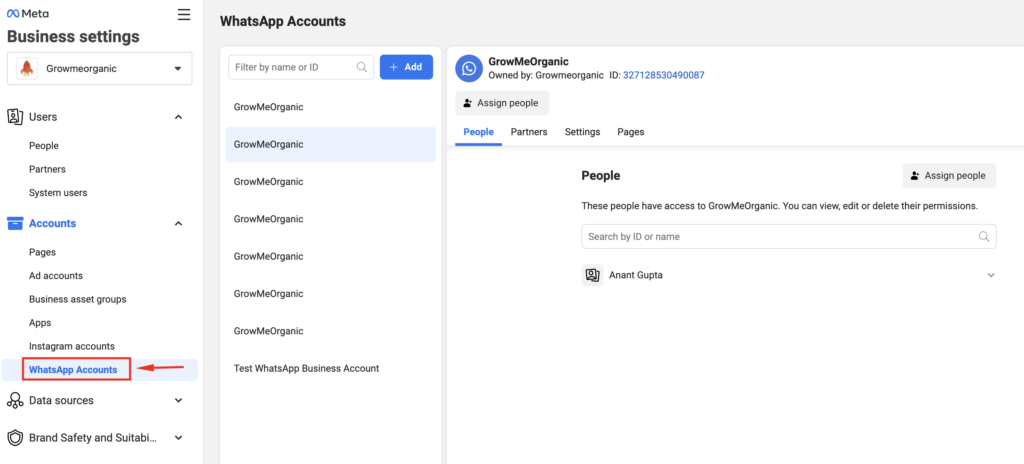
- Go to WhatsApp Accounts: From the left sidebar, go to Accounts > WhatsApp Accounts. This section lists all the WhatsApp accounts associated with your business.
- Select Your WhatsApp Account: Choose your WhatsApp account from the list to access its settings.
Access Payment Settings #
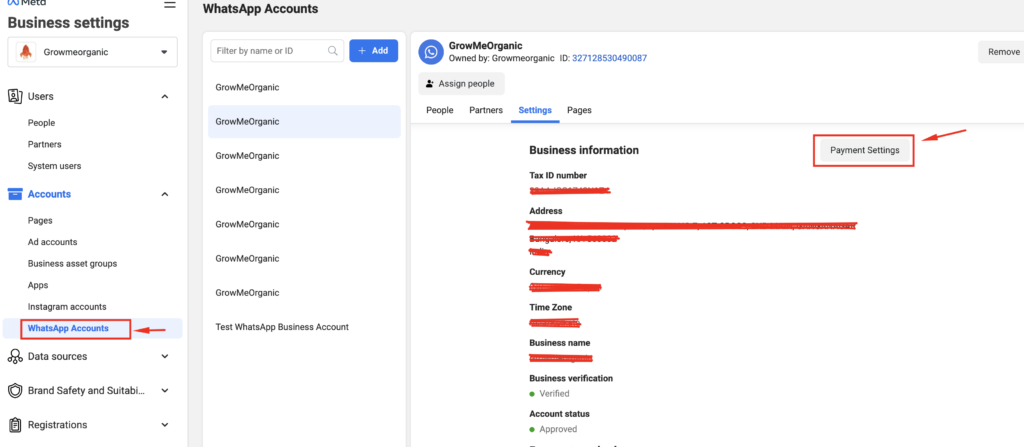
- Open Settings: Click on the Settings tab for the selected WhatsApp account. This will open the detailed settings for your WhatsApp account.
- Open Payment Settings: Within the Settings tab, click on the Payment Settings button. This will redirect you to the payment settings page.
Add a Payment Method #
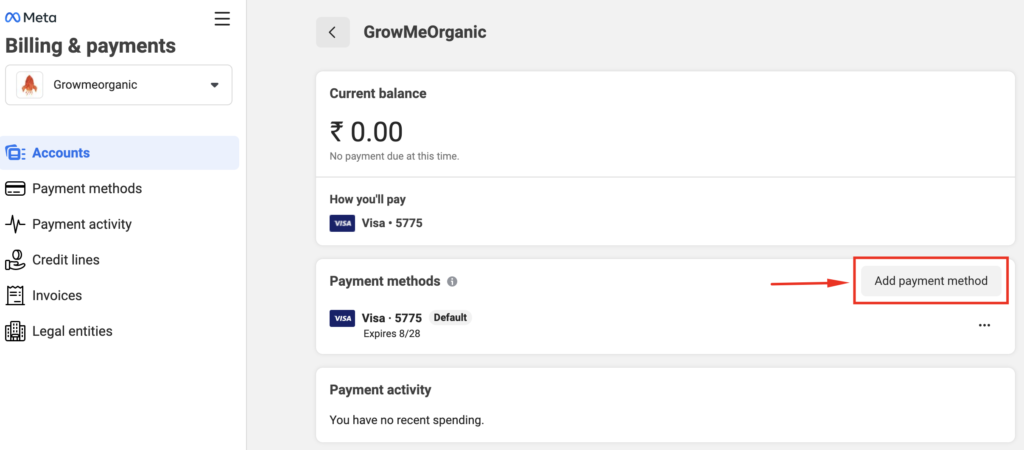
- Initiate Adding Payment Method: On the Payment Settings page, click the Add payment method button. This will start the process of adding your billing information.
- Select Country, Currency, and Payment Method: Choose your country, preferred currency, and the payment method you wish to use. Click Next to proceed.
- Enter Payment Details: Provide the required payment details, such as credit or debit card information. Ensure that all the information is accurate to avoid any issues with billing.
- Save Payment Method: Click Save to finalize and save your payment method. You will see a confirmation screen once your payment method has been added successfully
Add Missing Business Information
Once you’ve added your payment method, WhatsApp may show a prompt at the top of the page asking you to add missing business information.
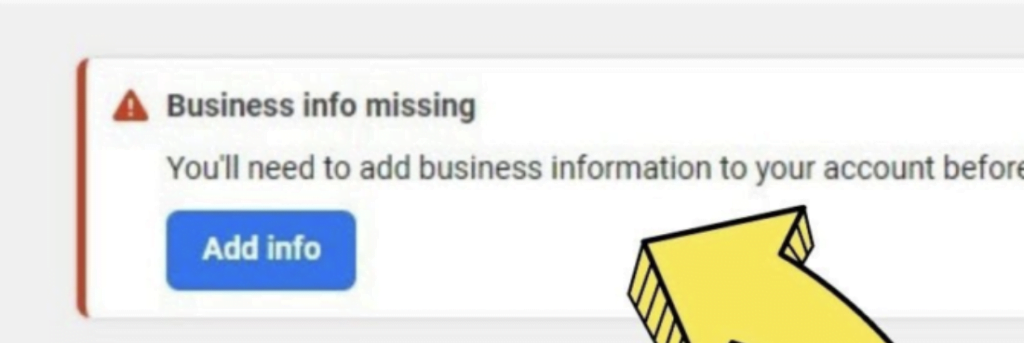
1. Locate the Missing Business Info Alert: After adding your payment method, if you see a banner or alert at the top of the page asking you to add business information, click on it.
2. Enter Business Details: Provide the required information, such as your Legal Business Name, Address, Phone Number, and Website. Make sure all the details are accurate.
3. Save Business Info: Once all details are filled in, click Save to complete the process.
By completing these steps, your payment method and business information will be successfully set up, ensuring smooth operation of your WhatsApp Business API with WhatChimp.

