
Integrating Google Sheets with Whatchimp allows you to import and manage contacts efficiently. Before proceeding, it’s crucial to set up your custom fields and labels to ensure proper data mapping and segmentation. Follow the Manage Custom Fields and Labels Guide first, then continue with this guide for Google Sheets integration.
Table of Contents #
- Sign in to your WhatChimp Account
- Connect Your Google Account
- Create or Use an Existing Google Sheet
- Prepare for Contact Import
- Import Contacts
Prerequisites #
Before you begin, ensure that you have:
- A Whatchimp account
- A Google account with Google Sheets access
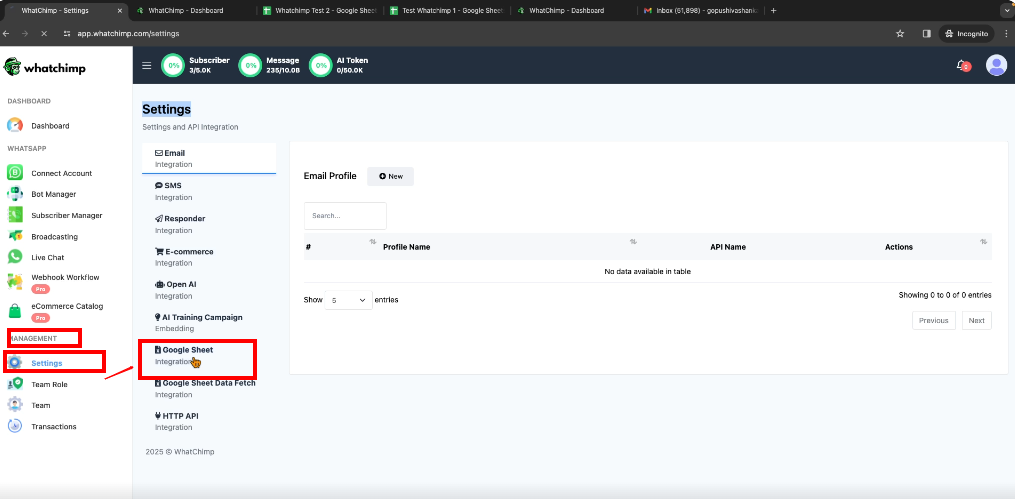
1: Sign in to Your Whatchimp Account #
- Log in to your Whatchimp account.
- Navigate to Settings under the Management section.
- Click on Google Sheets Integration.
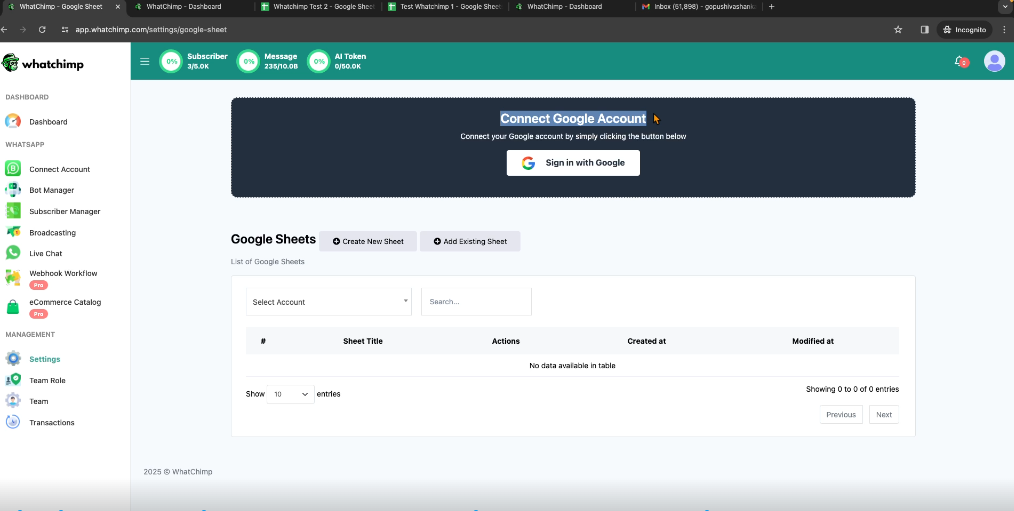
2: Connect Your Google Account #
- Click Connect Google Account.

- Select the Google account where your sheets are stored.

- Grant necessary permissions and click continue


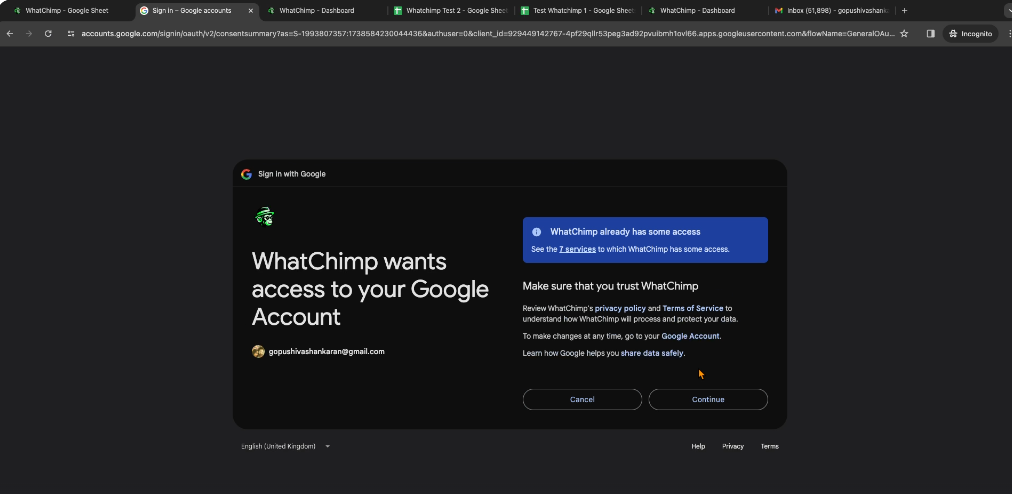
- Your Google account is now connected.
- (Optional) You can connect multiple Google accounts.
3: Create or Use an Existing Google Sheet #
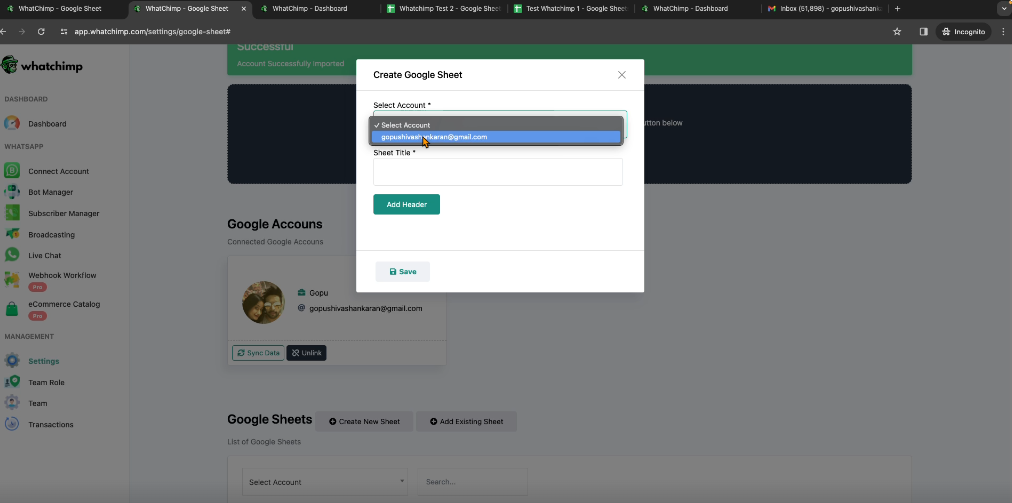
Option 1: Create a New Sheet #
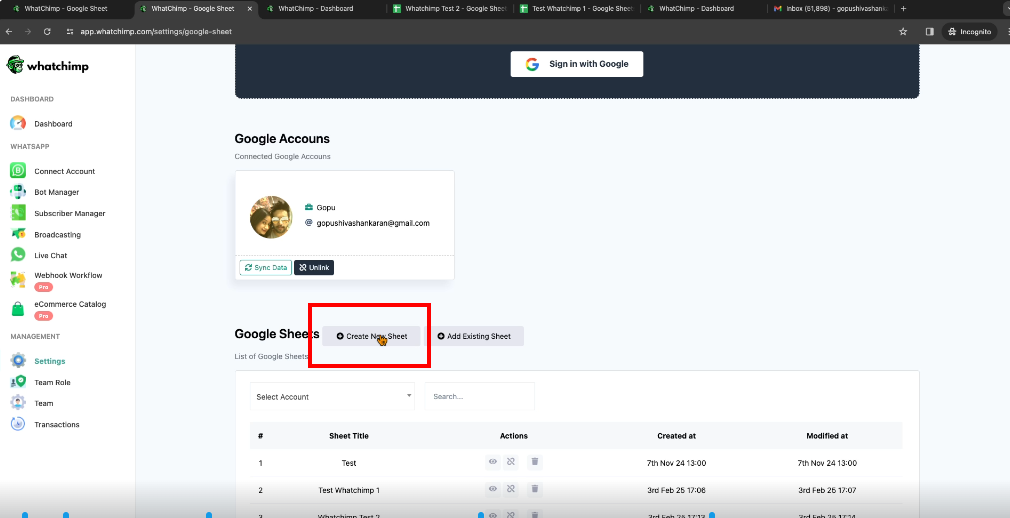
- Select your connected Google account.
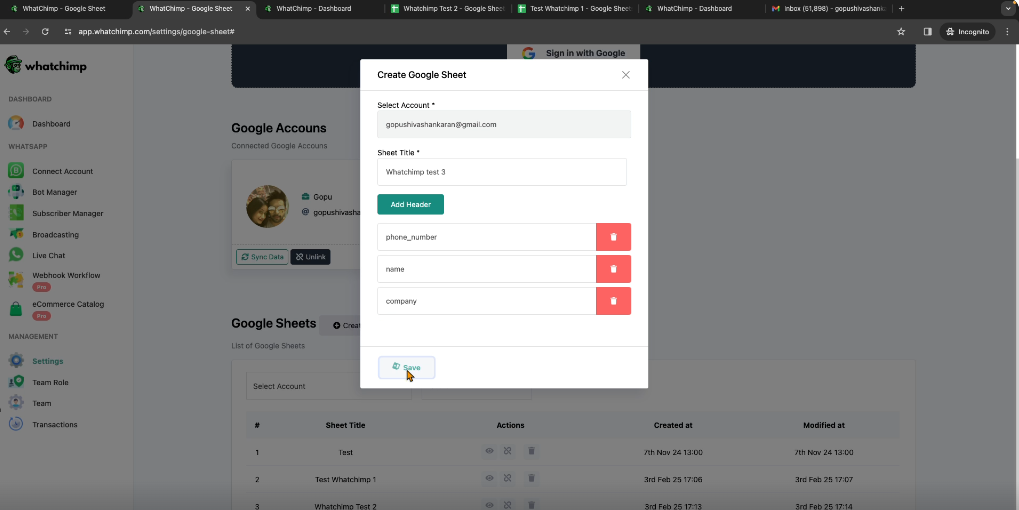
- Enter a name for the new sheet.

- Add headers using alphanumeric characters (e.g., phone_number, name, company).

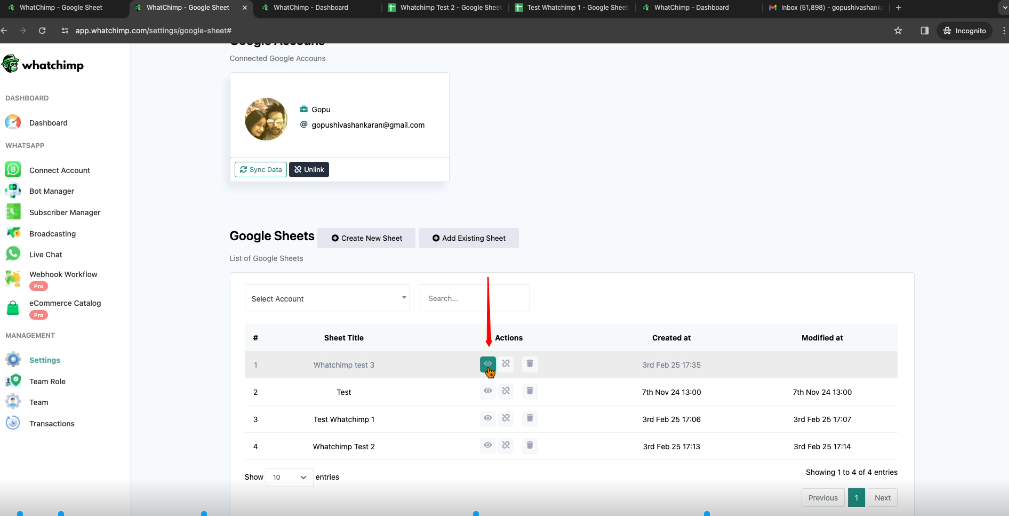
- Click Save to create the sheet.
- Click the View icon to open the sheet in a new tab.

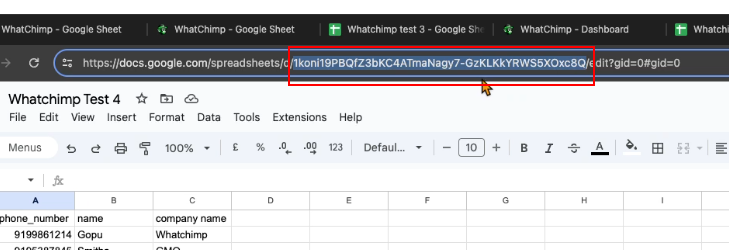
- Enter contact data:
- Phone Number (without special characters, only country code and number)
- Name
- Company Name (or any other custom field)

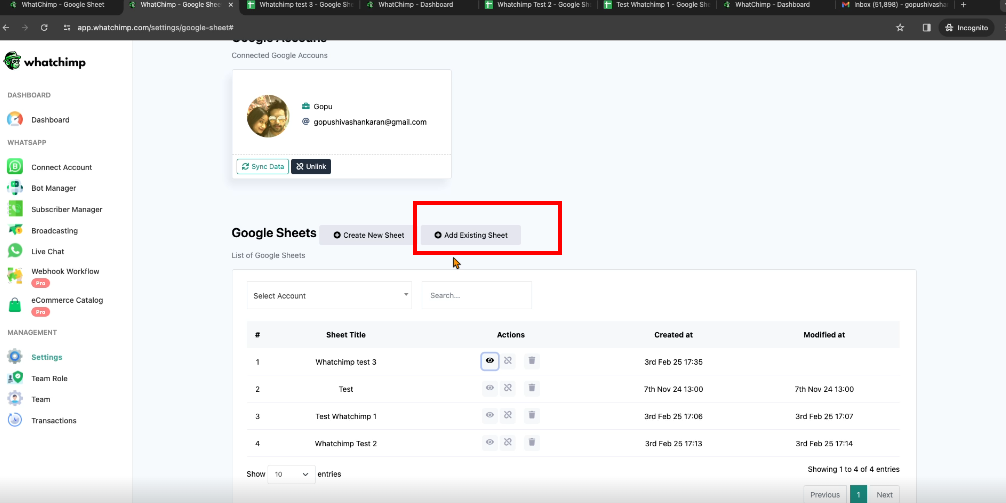
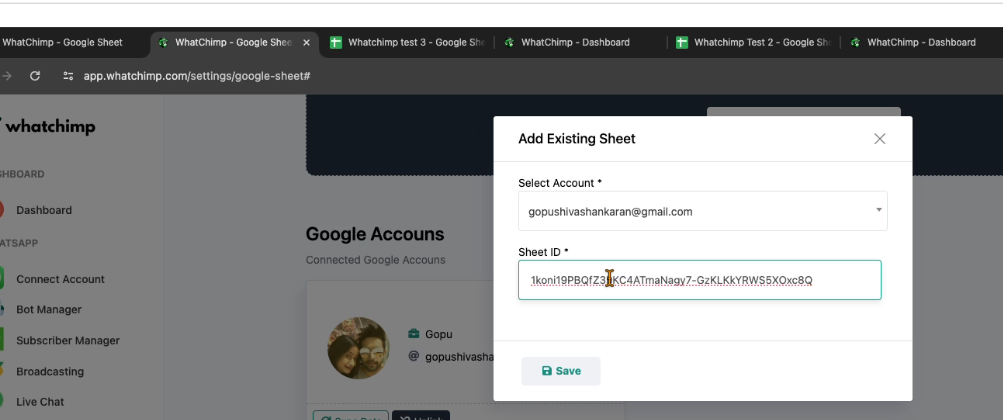
Option 2: Add an Existing Sheet #
- Open your existing Google Sheet.
- Copy the Sheet ID from the URL.

- Go back to Whatchimp and click Add Existing Sheet.
- Select your connected Google account.
- Paste the copied Sheet ID and click Save.

- Your existing sheet is now integrated.
4: Prepare for Contact Import #
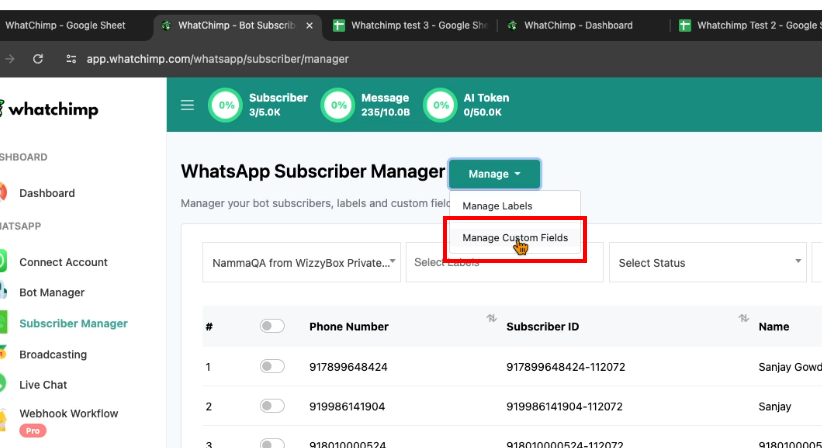
- Navigate to Subscriber Manager.
- Ensure your custom fields in Google Sheets match those in Whatchimp.
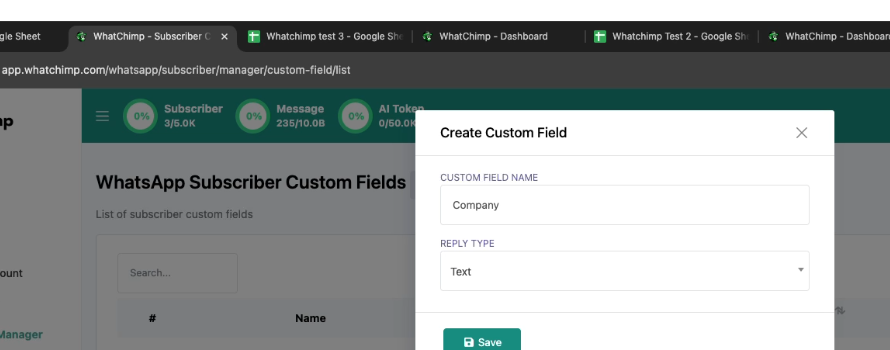
- Create a custom field in Whatchimp:
- Click Custom Fields.
- Enter the field name (e.g., Company Name).
- Choose the reply type (e.g., Text) and Save.
- Create a Label to categorize imported contacts:
- Go to Labels.

- Enter a name for the label (e.g., Test) and Save.
5: Import Contacts #
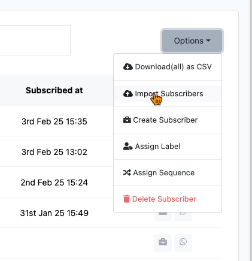
- Go to Subscriber Manager.
- Click Options > Import Subscribers.
- Select the appropriate Google Sheet.
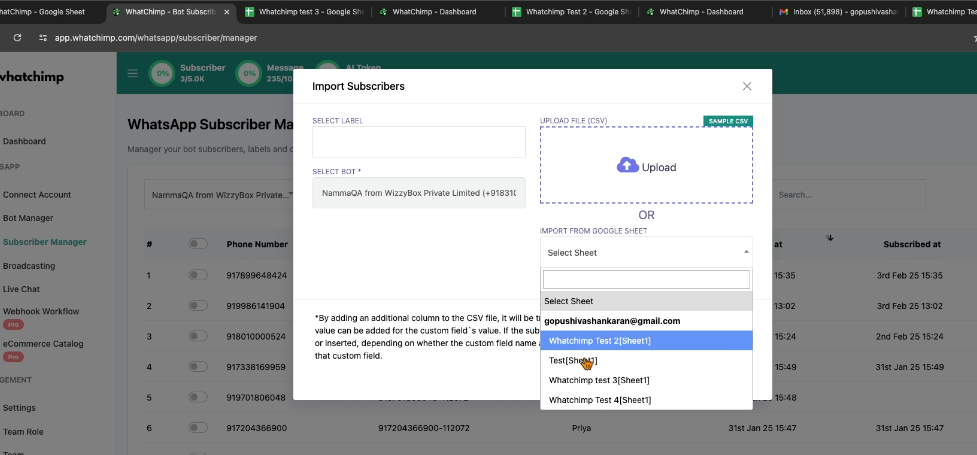
- Choose the Label you created.
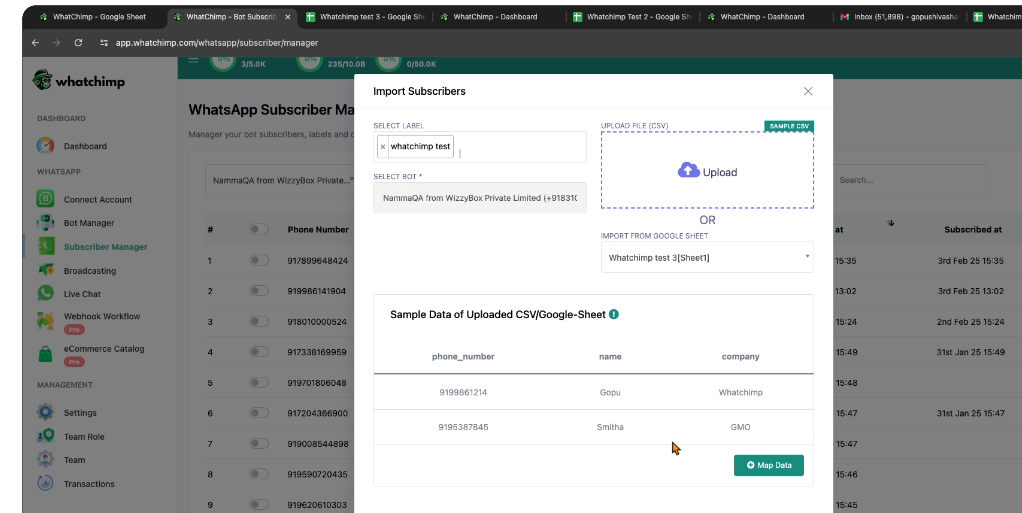
- Map fields from the sheet to Whatchimp:
- Phone Number → Phone Number
- Name → Subscriber Name
- Company → Custom Field: Company

- Click Confirm.
- Your contacts are now successfully imported into Whatchimp.
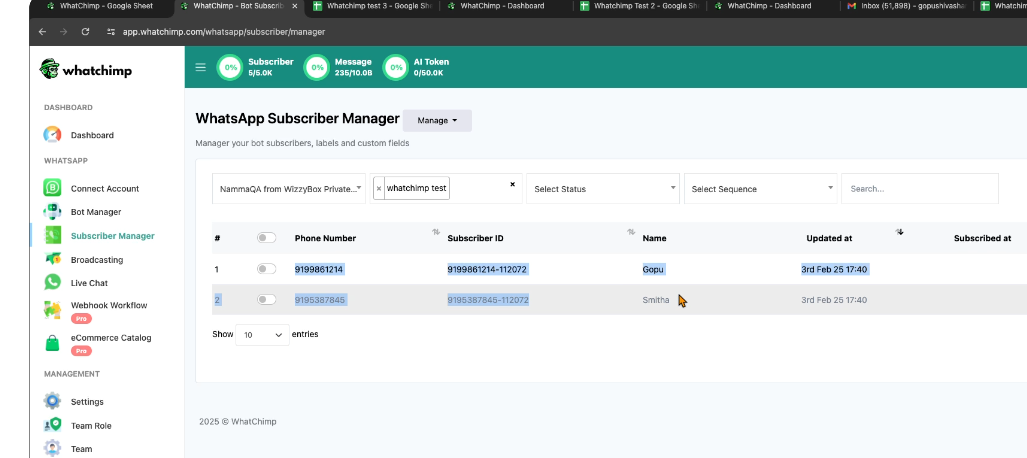
Integrating Google Sheets with Whatchimp makes importing and managing contacts seamless. Follow these steps to keep your CRM updated effortlessly. 🎉
